| Compensating
to correct the intonation: Part I This page is dedicated to working with intonation on acoustic guitars, but the information here is applicable to other fretted string instruments. Much of my own understanding of intonation has evolved from long experience using this device, known as the Tune-O-Matic bridge: 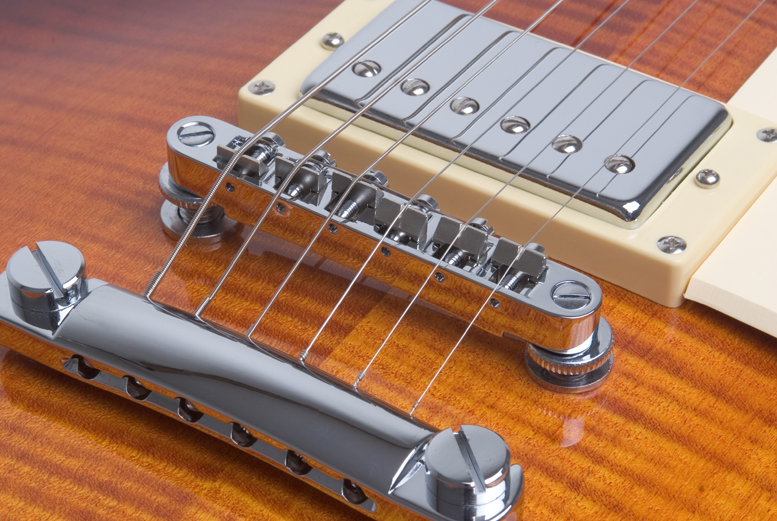 Whatever an instrument's scale length, action height, string gauge, or string pitch—assuming the frets and nut are in the right places—you can dial in each string's intonation perfectly, using only a little screwdriver and the thumbwheels. Tinkering with these things completely demystifies the concept of intonation. Most acoustic guitarists have no experience with them. And unfortunately these things ruin the sound of acoustic guitars. It's been tried and found tragic. 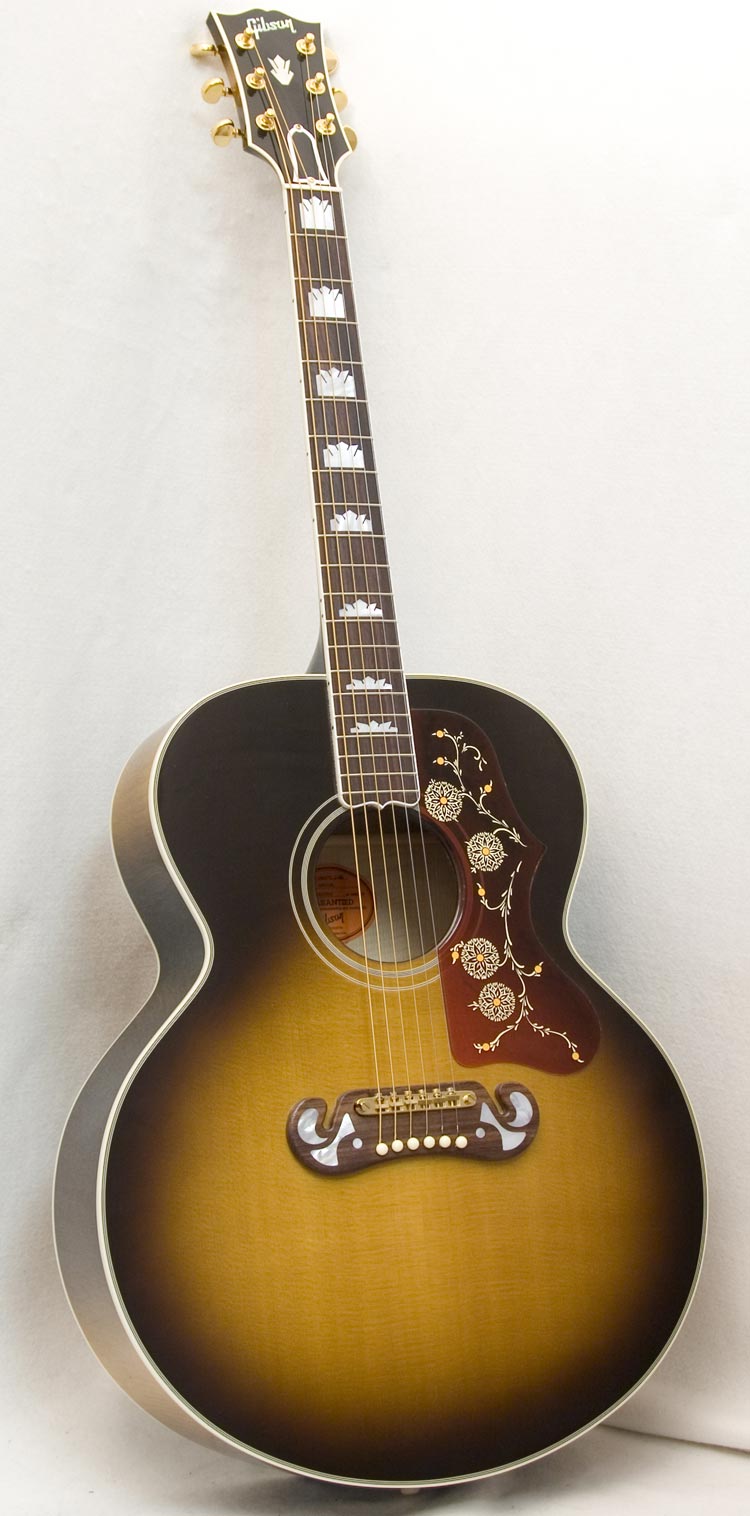 Shorter scales, such as Gibson's 24-1/2" scale from the days of yore need more radical compensation than longer scales such as the now-standard 25.5" / 648mm scale. Lighter strings need more. No matter the scale, higher action also needs more radical compensation, since you stretch the string sharp as you press it down to the fret. And so on. But with care, you can apply the principles you learn from the Tune-O-Matic to acoustics with bone saddles in wooden bridges, or acoustic archtops and the like, and not worry about the adjustability, since it's usually a set-and-forget proposition. Here is a typical Martin belly bridge. Much copied, we've all seen this bridge, or minor variants of it. 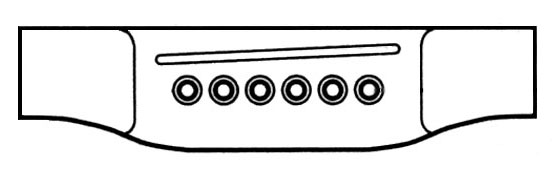 The bridge has a "footprint" on the top, and so it can't be moved, and most of the time, fortunately, the high E is fairly correct, so here, then, is the simplest cure: put the saddle where it belongs, and don't mess with the bridge placement at all. To do this you fill the slot with ebony (or rosewood, as appropriate) and cut a new one. The point of contact for the high E is usually left precisely where it was, assuming it was spot on, but the point of contact for the low E ends up farther back. 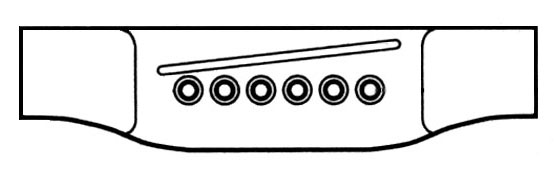  Here's another look at the basic factory bridge. The yellow line is for a reference on the location of the bridge pin holes. (It also shows how the belly bridge evolved from the earlier pyramid and 1x6 configuration). 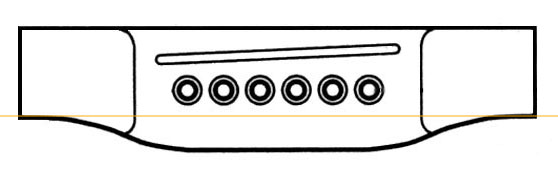
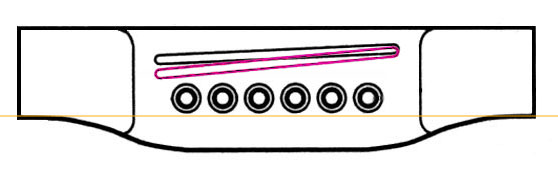 Real bridges look a little different than these sketches of course, particularly Martin bridges, which have the saddle and the bridgepin holes even closer than these sketches indicate. And the saddle angles in my sketches here are somewhat exaggerated to illustrate the point. Simply listening makes it clear that saddle angles on conventional commercial guitars tend to be able to play in tune only when the action is fairly low and the strings are light. In other words, under these presumed conditions, the deflection of the string is relatively low in actual play, the string is not stretched so as to raise its pitch as much, and therefore less compensation is necessary. Alas, not all guitarists want their guitars set up this way. In my opinion, installing a
wider saddle, with the concomitant added mass, to
simply be able to extend the vibrating length of the
lower strings to accomplish better intonation is a
mistake. For the sake of tonal clarity, I think a
conventional 3/32" bone saddle has the ideal mass, and
when it is set so that the spread for the high and low
strings is correct, there's plenty of room to finesse
the intonation of the B string. Read on. Compensating to correct the intonation: Part II Here we dial in the
individual strings of a typical steel string guitar.
If you had a Tune-O-Matic you could just do this with
your handy little screwdriver. Before doing anything about
the saddle, make sure the nut slots are perfect. They
are often NOT perfect, but unless they are, you can't
do an accurate adjustment of the saddle. More about nut slots here. Also
make sure you check intonation with good, fresh
strings. The simple angle back is a
basic compensation for typical string gauge, and the
raising of pitch that occurs when stretching the
string down to the fingerboard during playing. Most
manufacturers put a simple crown down the center of
the top of the saddle, and that is what you get. With
acoustics and their fixed saddle, there's more trial
and error involved. So this is different:
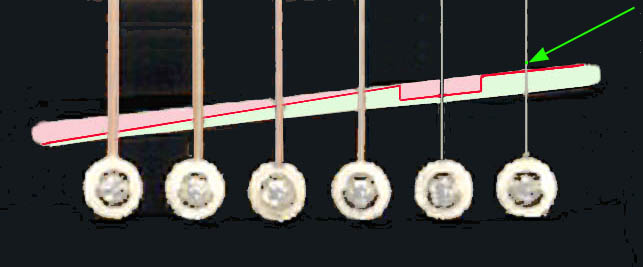
The hard red line indicates the adjusted high point on the fully compensated saddle—the actual point of contact that defines one end of the vibrating string length. Pale green indicates the back-slope, which is potentially a bearing surface for the string. Note that the B and the low E have a bit of meat under them behind the final point of contact. This is essential, so the windings of the string don't catch on a sharp edge. The pink surface is drop-off in front. The green arrows and dots
indicate the theoretically ideal point where
the saddle under the high E would be, based on a
strict measurement of the distance from the nut to the
center of the 12th fret times 2. Please
remember that this "double the
distance of the nut to the 12th fret" rule doesn't
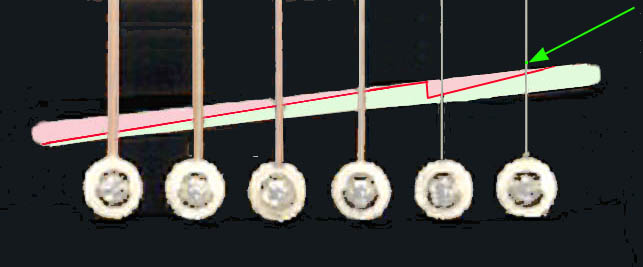
work on a practical level. And as you can see, even the high E is compensated as well. Here's another way the saddle is often shaped: same points of contact, same result, different look.
Whichever way it might be
accomplished, this scheme is really just a series of
two lines: one for the two plain strings (or on rare
occasions, three, if there's a plain G), and another
for the wound strings. With a normal set of strings
that have rational gauging and composition, and which
are tuned to standard tuning, this works. There are
special tunings and gauges that will require a
different scheme than this.
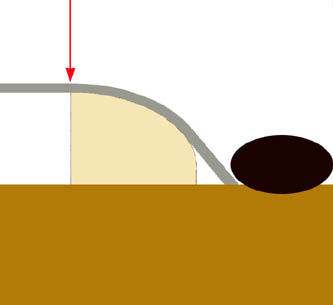
Getting the right bearing surface on the top of the saddle is essential. Most high Es need to leave the saddle at the point farthest forward if they want to be in tune, as in the second illustration up from here. Rounding or sloping in front of that simply sets that ultimate point of contact a bit too far back, boogering the intonation, unless it really needs to be farther back, as shown in the illustration just above, for example. Rounding in back (between the bridgepin and the ideal point of contact on the top of the saddle) is essential for the wound strings, as they need to ramp up to that final contact point without the windings catching on anything. Rounding in back is helpful for all strings, because you really want them to slide up onto the bone and have a firm point of contact on a bunch of material, not just an edge. (the same goes for nut slots, which I'll address elsewhere someday). Here's a typical profile for a high E string:
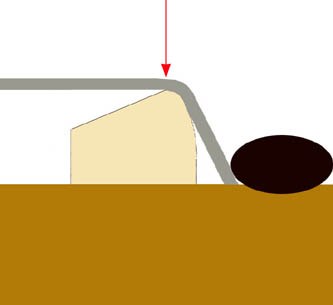
Notice how the string comes up from the bridgepin and slides onto a smooth curved surface. OK, this is slightly idealized, but the principal is clear: the elliptical shape leaves the string firmly in contact with the bone to a precise point of contact that will remain in full contact (so it's slightly less than parallel to the plane of the vibrating string) when the string is vibrating.
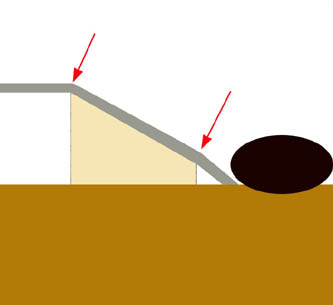
Not this! No flat surfaces and sharp edges! At the upper point the string will vibrate and dig itself a notch. At the bottom arrow, it'll hang up on an edge, especially if it's a wound string. This is a recipe for inaccurate tuning. The notch will also cause string breakage. And it won't sound as good, because the saddle to string contact isn't solid. Here's a typical profile for a low A:
The arrow shows the point of contact. For the same reason the high E has a ramp, the low one needs one too. Therefore the back edge of the saddle must not be a blade edge. If it is, it won't last, and it may break strings. A broader surface to bear the string will sound better too. The starting shape of a saddle under a wound E should have a bearing surface with a radius that's greater than the windings of the string, at the very least. You usually don't have much to work with, but you at least need this much. If you make it more of a blade edge, the string will tear through the bone and make a notch, and the windings tend to hang up as well.
|
